[翻译]成田昌隆1/32F/A-18C改造为蓝天使F/A-18A
来自成田的网站。原文
http://www.naritafamily.com/howto/F18Blue32/photo_frame.htm
我自己翻译的,请高人指教。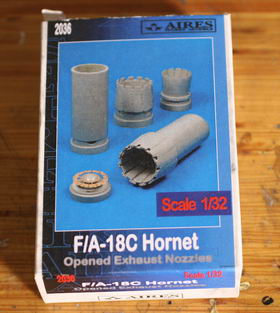
Base kit is an Academy's first 1/32 F/A-18C. I converted it to A version with Blackbox resin set. It includes cockpit and horizontal stabilizers. I also used Aires exhaust nozzle resin set. I like its seamless duct.
这次制作基于爱德美的第一款1/32比例的F/A-18C,我将其改造为A型。我使用Blackbox的树脂件,它包括座舱和平尾。我还使用了Aires的尾喷管树脂件。我喜欢这套树脂件中没有粘合线的发动机燃烧室内壁。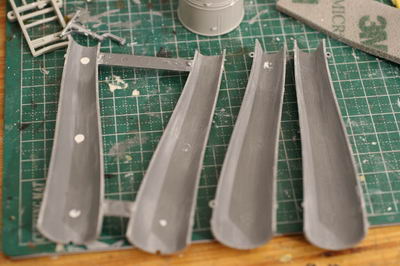
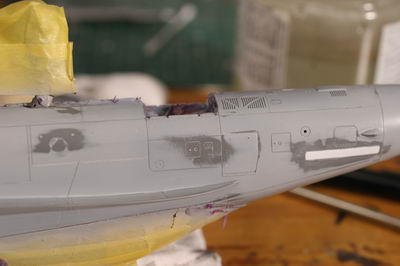
Put putty into big pin marks. I also removed the partition lines with putty. It is hard to see though.
在推出孔内填入补土,此外有不易被发现的缝隙我也用补土把它填了。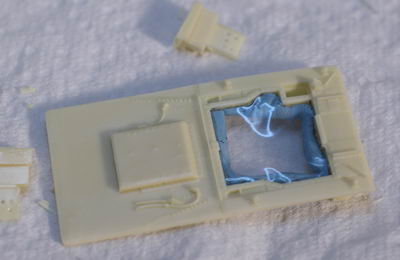
I closed this hole with a plastic film first. Then I put a mesh which comes with the kit onto it.
我先用塑料膜封闭图中的洞,然后把这套树脂件中的一个筛孔放在上面。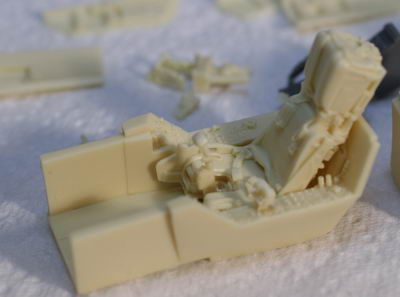
Blackbox resin cockpit set is really nice.
Blackbox树脂座舱真是棒极了。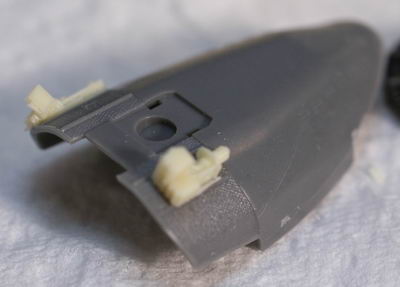
Blue Angels conversion needs these instruments on the hood.
将F/A-18C改造为蓝天使需要在图中这个盖子上安装这两个仪器。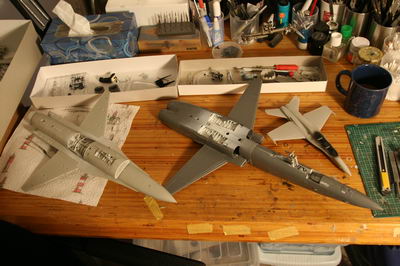
I sometimes build several kits simultaneously, since some process is same and it's efficient to do so. Especially to spray cockpit and bay.
有些制作过程,不同的板件之间也是相似的,特别是喷涂座舱和起落架舱等。那我有时就会同时展开几套板件的上述相似制作过程。这么做效率还挺高。
I always spray gray white to bay instead of pure white. I mainly use Mr. Color No.69 Grandprix White.
我总是用灰白代替纯白来喷涂起落架舱。我主要使用郡士69号格兰披治白。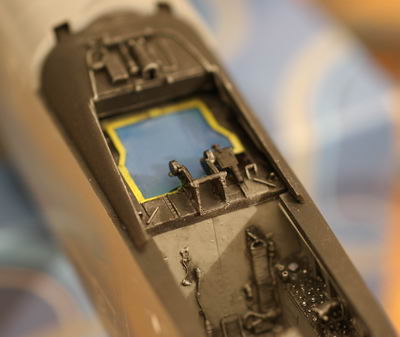
Dry brushing is essential in cockpit. I always use silver enamel onto black cockpit.
在座舱的制作过程中干扫是必不可少的。我总是用银色珐琅漆在座舱的黑色漆面上干扫。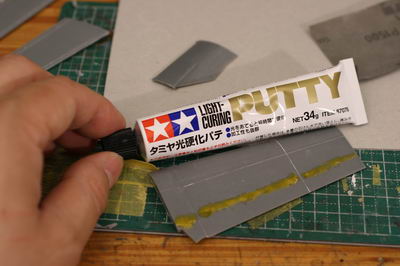
Tamiya's "Light"putty is evolutionary! It will ready to sand only after 5 minutes expose under fluorescent lamp. I use this when I am in a hurry.
田宫的光硬化补土在不断进步!仅仅放在荧光灯下5分钟就可以拿去打磨了。当我匆忙的时候我就用它。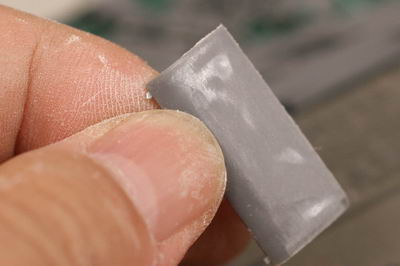
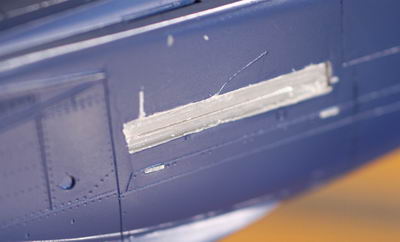
The surface of some panels are need to be level flat with putty.
有些表面需要通过补土使其平滑、平整。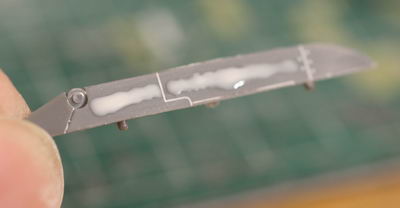
This one is also need to be fixed, too.There is big dents.
这里有个大凹痕也需要修整。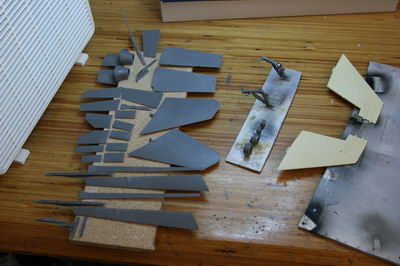
When I spray parts, I attach them on a cardboard with dual adhesive tape.
我喷涂零件时先将它们贴在双面胶上,双面胶的另一面贴在硬纸板上。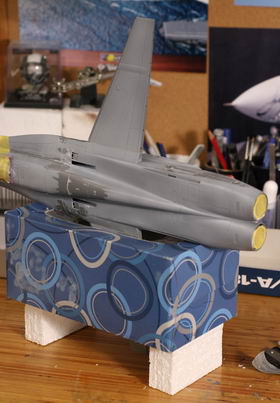
This empty tissue box makes me to scribe lines easy. I opened a hole on the bottom to put a wing through it. I attached two polystyrene foams to adjust the height.
这个纸巾盒使我能很方便地刻线。我在盒子底部开个口子,把飞机一侧的机翼穿过这个口子进而穿过整个盒子。我贴了两块泡沫塑料来调整高度以适应飞机的大小。 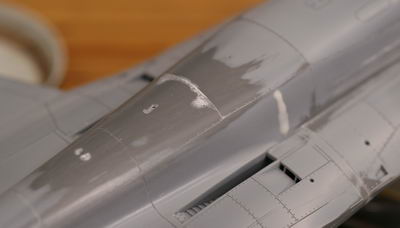
Fix gap.
修整缺口。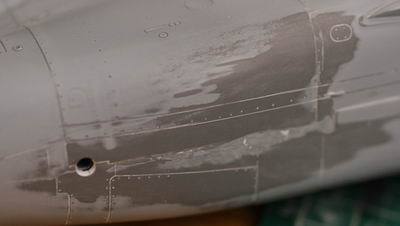
I should put a plastic board behind thepartition to get level.
我应该在在缝隙后面放一块胶板来使它平整。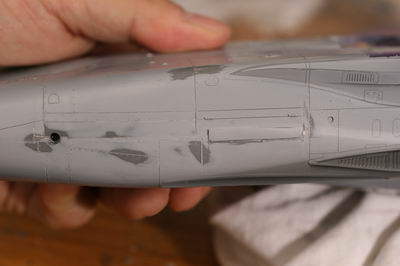
fix dents.
修整凹痕。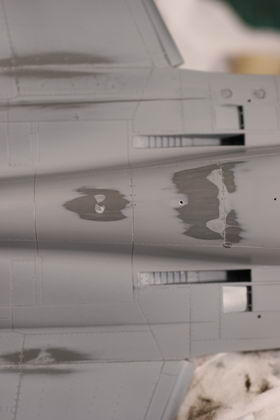
fix dents.
修整凹痕。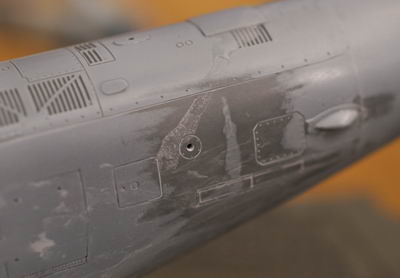
fix dents.
修整凹痕。
fix dents.
修整凹痕。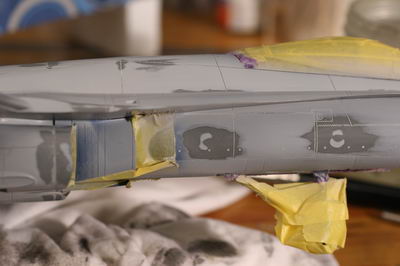
Put thin eplastic strip insted of the kit part.
用薄胶条代替板件中的零件。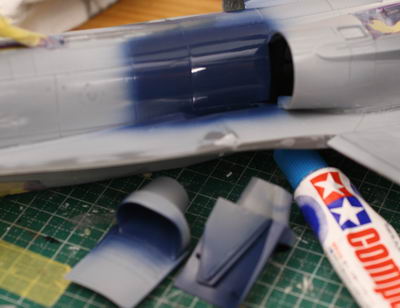
Spray blue behind the intake.
喷涂进气口后面的蓝色。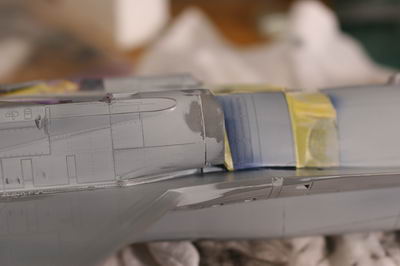
Sand and get level.
打磨平整。 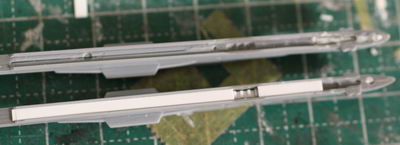

It's hard to remove a partition line. So I hide it.
要去除这里的缝隙还真不容易,所以我把它们“藏”起来。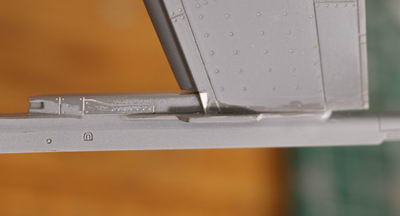
Put small triangle plastic here.
在这里放一片小的三角形胶板。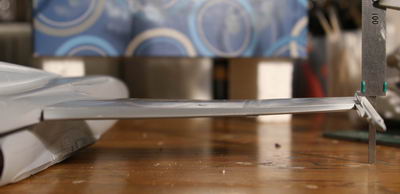
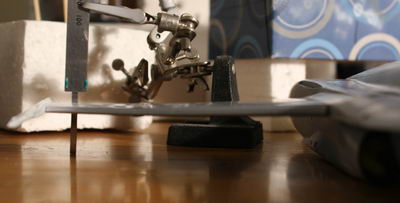
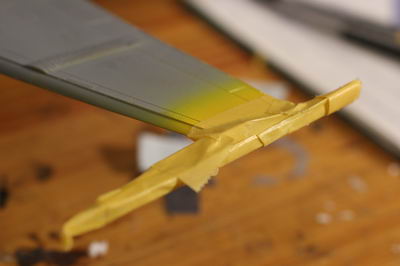
Wings are in winding. The tip of left wing is higher than right wing.
把机翼上紧,左翼翼尖比右翼翼尖高。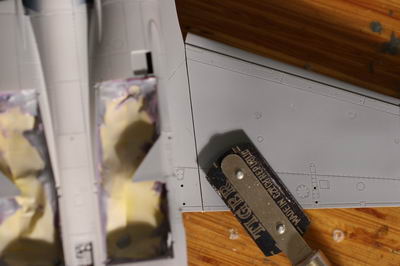
I made a slit and run into instant glue and push the wing down until the same level of the right wing..
我在这里划开一条狭长的口子然后在里面流入快干胶然后把机翼下压直到与右翼持平为止。 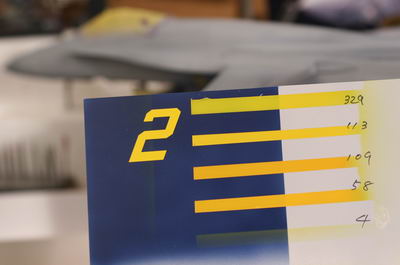
In order to find a matched color with the CAM decals, I sprayed blue on a plastic board and put "2" decal on it. I sprayed 4 different Mr. Color yellows and found 329 is most similar.
为了找出与CAM贴纸相近的颜色,我在胶板上喷了蓝色然后贴上“2”这个图案。我喷了郡士4种不同的黄色,发现329是最相近的。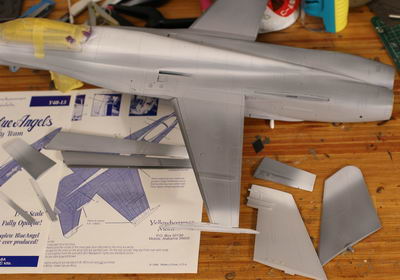
I avoid to spray yellow on the blue, since it gets dark. Instead of it, I sprayed white for the part of yellow.
黄色喷在蓝色上会变暗,所以我不这么喷。取而代之的方法是在要喷黄色的部分先喷上白色。
Then, spray yellow.
然后再喷黄色。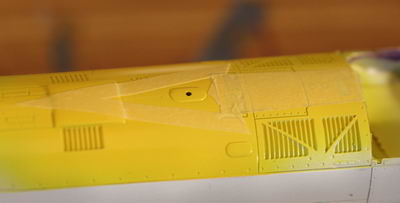
Then, mask yellow part.
接下来,遮盖黄色的部分。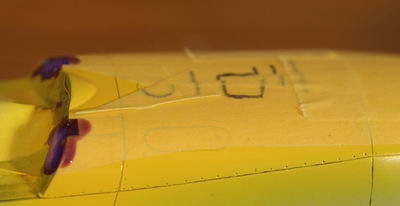
Then spray blue. I used Mr. Color No.328 Blue Angels Blue.
然后喷蓝色。我用郡士328号天使蓝。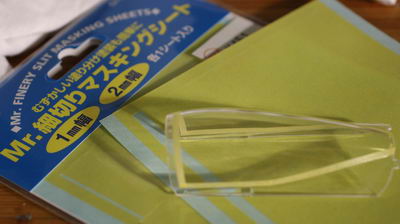
I used Mr. Hosogiri Masking Sheet for masking the canopy. There are many of 1mm and 2 mm wide tape in the set.
我用Mr.Hosogiri遮盖带遮盖座舱盖。这套遮盖带中有很多1mm和2mm宽的遮盖带。
Put normal masking tape inside and put Hambrol masking gel between the gap.
在里面贴上普通遮盖带,在遮盖带之间的空隙上用Hambrol遮盖液。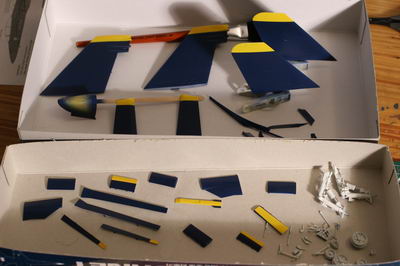
I didn't like the finish around the XXX. So I removed it.
我不喜欢图中这里的完成效果,所以我把它们去掉。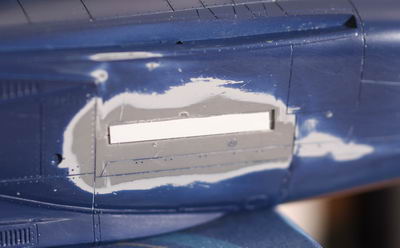
Sand around it to get level.
打磨平整。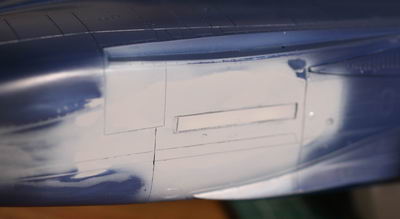
Spray primer to see the condition of surface.
喷水补土检查表面状况。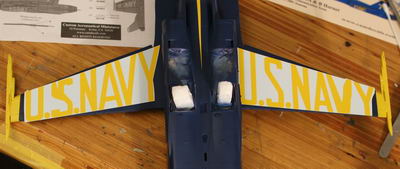
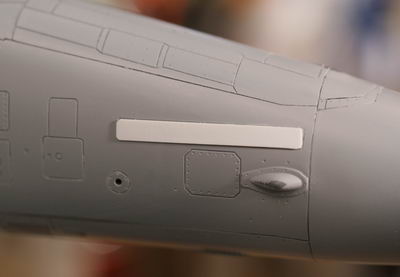
CAM's "US NAVY" decals for under the wings are too big to fit.
CAM贴纸中为机翼下方准备的“US NAVY”图案太大了,不“合身”。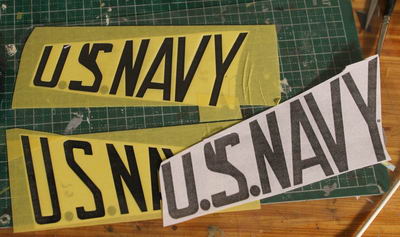
I photo-copied the decals 85% size by copy machine. Attach it back side of a transparent sheet. Put masking tape on other side and cut letters out.
我将此图案按85%大小用复印机复印出来,将背面贴在一张透明薄片上,再用遮盖带遮盖正面,然后切除遮盖带上的字母部分。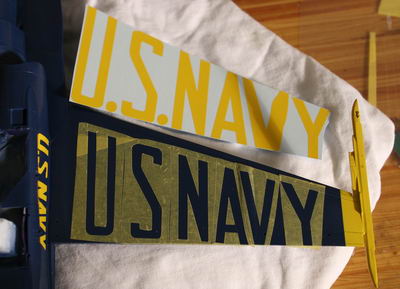
Put it on the wing.
贴在机翼上。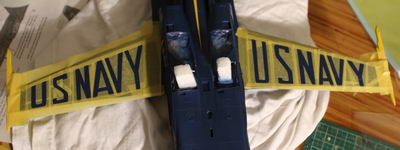
Mask gaps.
遮住空隙。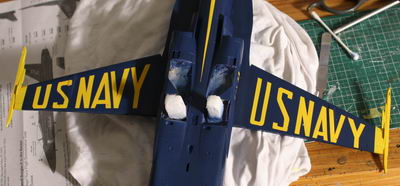
Spray yellow.
喷上黄色。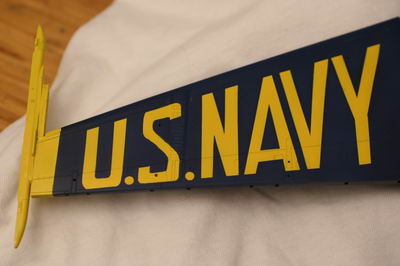
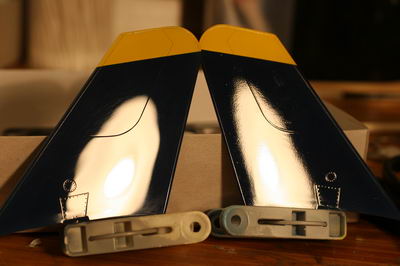
How to make surface such a nice gloss finish?
如何制作出如此漂亮、有光泽的效果?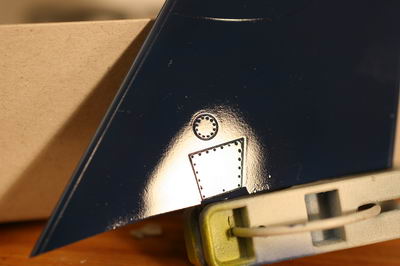
This is BEFORE magic.
这是“戏法”开始之前的样子。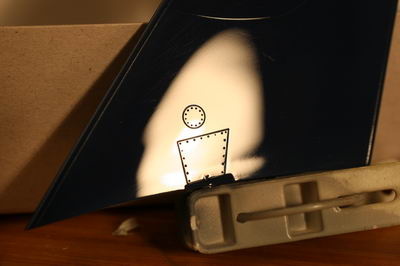
In order to get such a great gloss finish, ask a car modeler! If you don't have a friend of those., here is the steps what I did.
I sand the surface throughly with #1500 paper before spraying primer. Over primer, sand it again with #1500 paper. After spraying paint, sand it with #2000 paper. Then spray gloss coat, then sand it with #2000 again. I always use urethan coat. Although it will take 1 week to dry, you will get very hard and tough coat enough to sand and level decal surface.
Then polish with compound. Then wax it. That's it. You need to practice many times to reach certain level. There is no easy secrets!
想获得如此富有光泽的效果,可以去咨询一个车模制作者。如果你身边没有做车模的同好,那么下面是我的步骤。
我在喷水补土之前把整个表面全部用1500号砂纸打磨。喷完水补土又用1500号砂纸再次打磨。喷完正色用2000号砂纸打磨,然后喷光油。喷完光油再用2000号砂纸打磨。我总是使用高硬光油。尽管它要一周左右的时间才能干透,但你能得到足够坚硬牢固的漆面,能经得起打磨,也能满足水贴对平整程度的要求。
然后用打磨膏打亮。
然后上蜡。
这就是全过程。要达到某一水平,只能多次练习。没有捷径可走!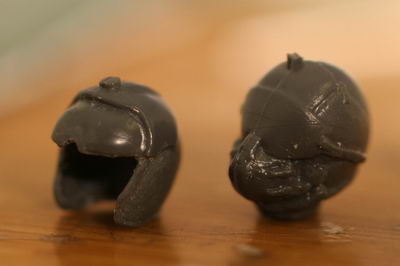
It should be same head to be photographed with, but I got a wrong one placed on the right side. Sorry. Actually I removed face and brain from the head and make a helmet.
按说这两个头部零件拍摄出来应该是一样的,但我放在右边的这个是错的。抱歉。我把面部和脑部切除,把头变成了头盔。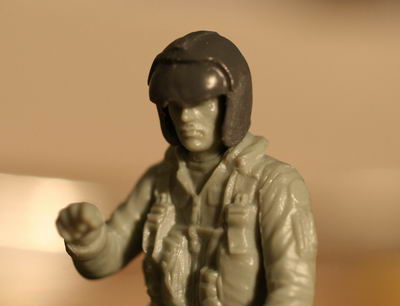
I combined a head and helmet to look nice.
我把头和头盔合在一起,使它好看些。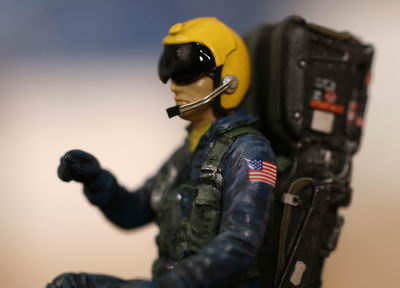
Put some wires and color it. Here is a Bule pilot!
添加线路,上色,一个蓝天使飞行员就展现在我们眼前了!
[ 该网志同时发表在论坛,点击查看 ]
此日志的引用通告 URL:
http://www.imx365.net/blog/tb.cgi/3665
还没有人评论过
(访客)

分类
关于
访问统计
- 总计:12160
- 今天:1
- 昨天:2
- 本月:19
- 本年:62